ADA TV+
How it Works

Comprehensive Dental Education
Clear, visually appealing explanations of common conditions, treatment options, and preventive care, empowering patients to make informed decisions about their oral health.

Soothing Entertainment
Calming visuals, relaxing music, and family-friendly content to create a comfortable and stress-reducing environment.

Customizable Practice Marketing
Showcase your unique services, introduce your team, highlight special offers, and reinforce your practice’s brand with dedicated segments tailored to your goals.
Setup
Installation & Connection
Three easy steps to connect your new ADA TV+
Step 1
Screen Connection
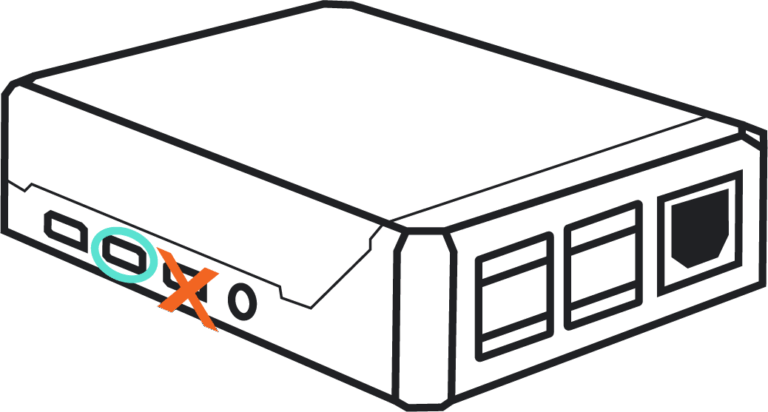
Connect the ADA TV+ player to your TV/screen with the Micro HDMI cable included in the package.
ONLY USE THE LEFT MICRO HDMI PORT ON THE PLAYER
Make sure your TV/screen is powered on set to the correct HDMI input source.

Step 2
Power Connection
Plug the power cable’s end into the power cable port on the device and plug the power adapter into an electrical outlet.
THE PLAYER WILL START TO WORK AUTOMATICALLY

Step 3
Activation Code
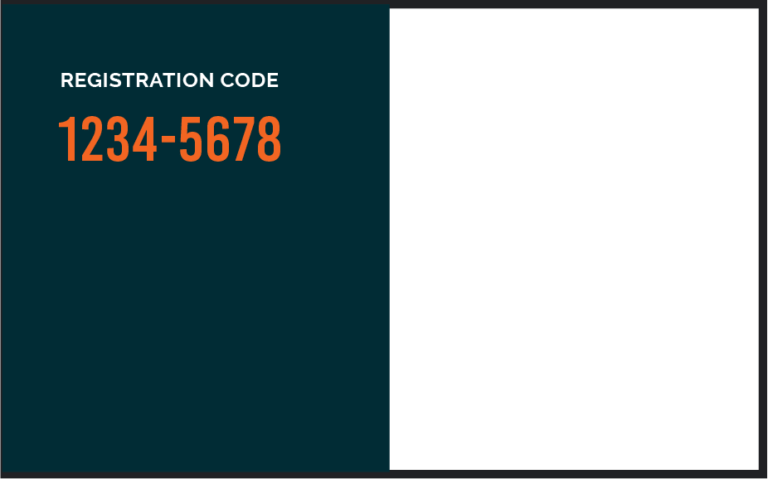
Follow the on-screen instructions. Once completed, you will be presented with an activation code. Send us this activation code to access your curated content.
VOILA, ADA TV+

Questions? Support?
Check out the FAQ section here for quick fixes and answers, or give us a call at 888-594-6894.
